Book: Mastering Android Game Development

I’ve been busy the past few months writing a book titled Mastering Android Game Development with focuses on using the Android SDK for building games. The book is now available online.

4757_MockupCover_Normal

If you are an intermediate-level Android developer who wants to create highly interactive and amazing games with the Android SDK, then this book is for you.

This book is a progressive, hands-on guide to developing highly interactive and complex Android games from scratch. You will learn all the aspects of developing a game using a space shooter game as the example that will evolve with you through the chapters. You will learn all about frame-by-frame animations and resource animations. You will also create beautiful and responsive menus and dialogs and explore the different options for playing sound effects and music in Android, the basics of creating a particle system, how to configure and use Google Play Game Services on the developer console and port our game to the big screen.

Snapping items on a horizontal list

The Problem

We want to have a horizontal scrolling view that holds several items and that snaps to the selected one once the scroll stops, placing it centered on the screen.

Essentially something that works like this:
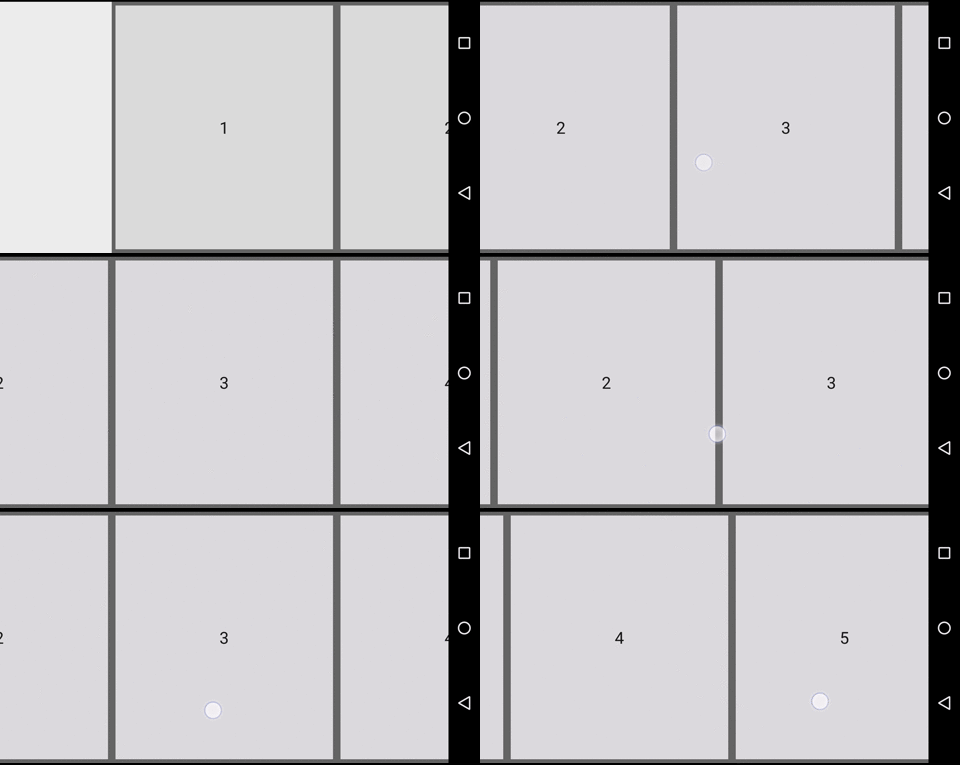
ezgif.com-crop

In old versions of Android we had the Gallery class that allowed us to do something similar, but it has been deprecated. It is also similar to what you can do with a ViewPager, but those are normally designed for full width Fragments.

The Solution (TL;DR)

What we will do is to listen for the event of scrolling stop on the list. Then we will check which item is currently in the middle of the screen and make the list scroll until it is positioned on the center.

The code for this example is available on GitHub as the project SnappingList

The detailed solution

You probably want something more detailed, so let’s get into it.

Some considerations

We are going to use a RecyclerView because the OnScrollListener allows us to know the pixels that have been scrolled, and that is not possible with a standard ListView. Its OnScrollListener does not provide enough information. Besides, a RecyclerView is more fancy.

We will know the with of the items on the list beforehand. This is very important to be able to calculate the center of the screen and which item is the selected one.

We are going to have two extra items in the list, one at the beginning and one at the end, to be able to position the first and last items centered on the screen. The width of these extra items need to be large enough for it.

The list items

As we mentioned, we will have two different items in the list. The normal ones and the ones we will add at the beginning and the end.

The layout for the extra items is defined in the layout file list_item_padding.xml and looks like this:

<?xml version="1.0" encoding="utf-8"?>
<FrameLayout  xmlns:android="http://schemas.android.com/apk/res/android"
    android:layout_width="@dimen/padding_item_width"
    android:layout_height="match_parent">
</FrameLayout>

On the other hand, the normal items we are going to use are just a square shape in the background and a number in the center. They are defined in the layout list_item.xml which looks like this:

<?xml version="1.0" encoding="utf-8"?>
<FrameLayout  xmlns:android="http://schemas.android.com/apk/res/android"
    android:layout_width="@dimen/item_width"
    android:background="@drawable/bgr"
    android:layout_height="match_parent">

    <TextView
        style="@android:style/TextAppearance.DeviceDefault.Large"
        android:id="@+id/item_text"
        android:layout_gravity="center"
        android:layout_width="wrap_content"
        android:layout_height="wrap_content" />

</FrameLayout>

These layouts have the width defined as a dimension. This allows us to tweak it for different screen sizes and also to be able to read the width in code without the need of waiting for the views to be measured. The values we are using for the example are:

<resources>
    <dimen name="item_width">200dp</dimen>
    <dimen name="padding_item_width">300dp</dimen>
</resources>

The Adapter

Then, we are going to create an adapter that just adds the two extra items. We call it ExtraItemsAdapter and the code is like this:

public class ExtraItemsAdapter
        extends RecyclerView.Adapter<ViewHolder> {

  private static final int VIEW_TYPE_PADDING = 1;
  private static final int VIEW_TYPE_ITEM = 2;

  private final int mNumItems;

  public ExtraItemsAdapter(int numItems) {
    mNumItems = numItems;
  }

  @Override
  public int getItemCount() {
    return mNumItems+2; // We have to add 2 paddings
  }

  @Override
  public int getItemViewType(int position) {
    if (position == 0 || position == getItemCount()-1) {
      return VIEW_TYPE_PADDING;
    }
    return VIEW_TYPE_ITEM;
  }

  @Override
  public ViewHolder onCreateViewHolder(ViewGroup parent, int viewType) {
    // create a new view
    if (viewType == VIEW_TYPE_ITEM) {
      View v = LayoutInflater.from(parent.getContext())
        .inflate(R.layout.list_item, parent, false);
      return new ViewHolder(v);
    }
    else {
      View v = LayoutInflater.from(parent.getContext())
        .inflate(R.layout.list_item_padding, parent, false);
      return new ViewHolder(v);
    }
  }

  @Override
  public void onBindViewHolder(ViewHolder holder, int pos) {
    if (getItemViewType(pos) == VIEW_TYPE_ITEM) {
      // We bind the item to the view
      holder.text.setText(String.valueOf(pos));
    }
  }
}

The adapter receives a number that says how many elements to display as a parameter of the constructor.When asked for the item count it will return that number+2.

When asked to create a view, it uses the item view type to check if it is either a padding or a normal item.

To use this on a real world example, you should pass a list of items instead of just an integer and do proper binding inside onBindViewHolder.

Controlling the RecyclerView

Now that the basics are set, we can move into the really interesting part: handling the RecyclerView.

As we mentioned before, the idea is that when the scroll is stopped, we calculate which item is the current position, then, make the list scroll to that position.

To be able to calculate all that, we need some initialization, mainly to know the width of the items (both normal and extra ones) and also the padding needed, which is calculated based on the screen width and the item width.

We also keep track of the current amount of scroll -in pixels- of the RecyclerView in the allPixels variable.

All this can be done inside the onCreate method of the Activity.

Display display = getWindowManager().getDefaultDisplay();
Point size = new Point();
display.getSize(size);
firstItemWidth = getResources().getDimension(R.dimen.padding_item_width);
itemWidth = getResources().getDimension(R.dimen.item_width);
padding = (size.x - itemWidth) / 2;

allPixels = 0;

We also need to initialize the RecyclerView by creating and setting a LayoutManager.

final RecyclerView items = (RecyclerView) findViewById(R.id.item_list);
LinearLayoutManager itemslayoutManager = new LinearLayoutManager(getApplicationContext());
itemslayoutManager.setOrientation(LinearLayoutManager.HORIZONTAL);
items.setLayoutManager(itemslayoutManager);

Finally, we set the OnScrollListener to the RecyclerView:

items.setOnScrollListener(new RecyclerView.OnScrollListener() {

  @Override
  public void onScrollStateChanged(RecyclerView recyclerView, int newState) {
    super.onScrollStateChanged(recyclerView, newState);
    synchronized (this) {
      if (newState == RecyclerView.SCROLL_STATE_IDLE) {
       calculatePositionAndScroll(recyclerView);
      }
    }
  }

  @Override
  public void onScrolled(RecyclerView recyclerView, int dx, int dy) {
    super.onScrolled(recyclerView, dx, dy);
    allPixels += dx;
  }
});

This listener does two things:

  • When the scroll stops (the scroll state changes to SCROLL_STATE_IDLE), it calls calculatePositionAndScroll to make the list snap.
  • When the list scrolls, it updates the value of allPixels.

Then we have the utility method calculatePositionAndScroll which is where the action is:

private void calculatePositionAndScroll(RecyclerView recyclerView) {
  int expectedPosition = Math.round((allPixels + padding - firstItemWidth) / itemWidth);
  // Special cases for the padding items
  if (expectedPosition == -1) {
    expectedPosition = 0;
  }
  else if (expectedPosition >= recyclerView.getAdapter().getItemCount() - 2) {
    expectedPosition--;
  }
  scrollListToPosition(recyclerView, expectedPosition);
}

private void scrollListToPosition(RecyclerView recyclerView, int expectedPosition) {
  float targetScrollPos = expectedPosition * itemWidth + firstItemWidth - padding;
  float missingPx = targetScrollPos - allPixels;
  if (missingPx != 0) {
    recyclerView.smoothScrollBy((int) missingPx, 0);
  }
}

To calculate the position we use the values of allPixels, padding,  firstItemWidth and itemWith. Note that we are rounding the result.

We check for the special cases of the first and last items -the extra ones- and then tell the list to scroll to that position.

Scrolling to the position calculates the point in which the list needs to be positioned for a specific item, subtracts the value of allPixels from it and tells the list to do a smooth scroll.

Finally, we initialize the adapter with the number of items we want to be displayed.

ExtraItemsAdapter adapter = new ExtraItemsAdapter(NUM_ITEMS);
items.setAdapter(adapter);

While the code works, there are a couple of situations we want to fix to make it nicer.

Finishing touches

The first problem is that rotation does not work properly. RecyclerView does remember the state, but the value of allPixels gets reset when the Activity is destroyed. This is very easy to fix, we just need to save and restore it using the methods from the Activity.

@Override
protected void onRestoreInstanceState(Bundle savedInstanceState) {
  super.onRestoreInstanceState(savedInstanceState);
  allPixels = savedInstanceState.getFloat(BUNDLE_LIST_PIXELS);
}

@Override
protected void onSaveInstanceState(Bundle outState) {
  super.onSaveInstanceState(outState);
  outState.putFloat(BUNDLE_LIST_PIXELS, allPixels);
}

The other finishing touch is to make the list start in a selected position, since now it starts at the beginning of the list, where an extra item is.

If we call calculatePositionAndScroll directly it will create a wrong state where the value of allPixels is incorrect because the view has not been completely measured yet. To fix that we have to call that method once the layout has been completed and we do that via the OnGlobalLayoutListener class.

ViewTreeObserver vto = items.getViewTreeObserver();
vto.addOnGlobalLayoutListener(new ViewTreeObserver.OnGlobalLayoutListener() {
  @Override
  public void onGlobalLayout() {
    items.getViewTreeObserver().removeOnGlobalLayoutListener(this);
    calculatePositionAndScroll(items);
  }
});

I recommend that you place this code inside onResume (as oposed to onCreate) to ensure that it is called after onRestoreInstanceState. Although the layout is most likely never completed before onResume is called, the logic of positioning the list to the right position makes more sense inside onResume.

Final considerations

There are some considerations for this to be used on real world applications. Nothing major, but still worth commenting:

  • We chose the size of the items for an optimal view on a Nexus 5 in landscape. You should consider qualifying the dimensions based on the screen smallestWidth.
  • Removing the ViewTreeObserver has two different methods, one that is valid for minSDK < 16 and another one for SDK 16 on. This example only considers minSDK 16.

You can see all the code in the SnappingList project on GitHub.

Google Developer Expert

I can proudly say that since January, I have become a Google Developer Expert for Android (GDE in short). The first -and at the moment only- one in Ireland.

Google Experts are a global network of experienced product strategists, designers, developers and marketing professionals actively supporting developers, startups and companies changing the world through web and mobile applications.

As part of the activities of the GDE program I spent some time at the Office Hours during Google I/O helping people and I also gave a 20 minutes talk in the sandbox about Playful Design (slides coming shortly).

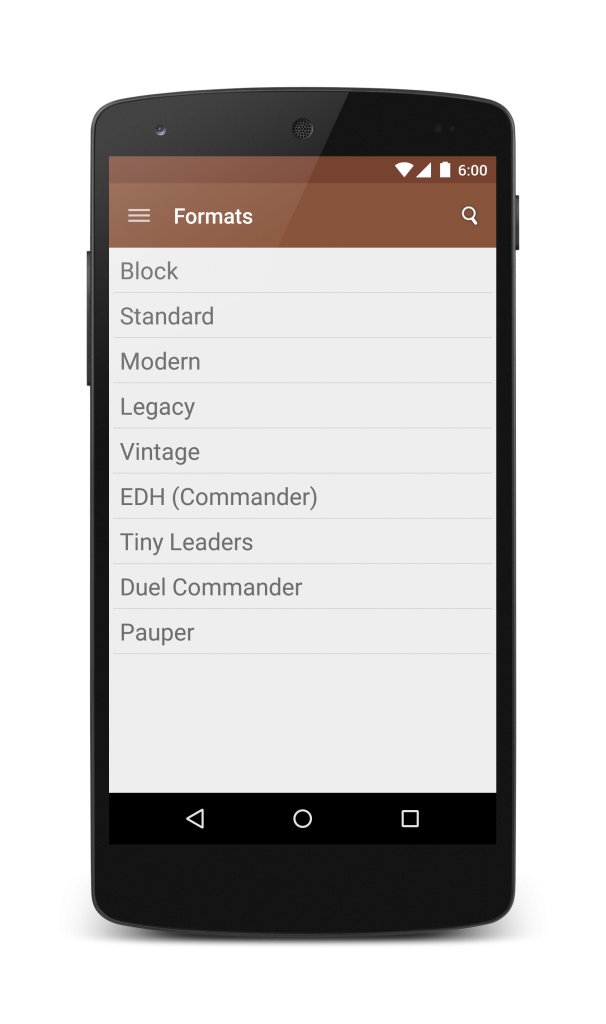
MTG Tracker 6.1 – Supporting casual formats

We just published version 6.1 of MTG Tracker, and is all about casual formats.

We were the first ones to support EDH more than 3 years ago. Long before it got the name changed to Commander. We love casual formats, that’s why It was time to include some other formats that are getting more and more popular lately.

  • Tiny Leaders is getting steam quickly, it is a smaller Commander mode with cards of converted mana cost of 3 or less, decks of exactly 50 card, 25 life points and no Commander damage. Check it out at the official site.
  • Pauper is a format when you can only use commons. Very cheap to build, lots of fun. It has been a format for Magic Online for a while.
  • Duel Commander is a modified version of Commander designed to play one-on-one. Different ban list and 35 life. Check the official site for details.

These formats have now a slot under the formats section, a deck type that checks for invalid cards and in the case of Tiny Leaders and Duel Commander, a game mode.

New Formats

Also, business as usual, the latest set “Dragons of Tarkir” has been added to the app. The cards from “Duel Decks: Elspeth Vs Kiora” have been also added.

Enjoy.

MTG Tracker 6.0 – Material Design

MTG Tracker has been updating a lot, usually UI changes are made gradually, but sometimes they are big. This update is one of the big ones, and I want to take the chance to look back to all the journey.

MTG Tracker UI journey

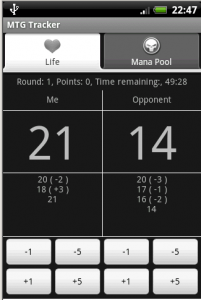
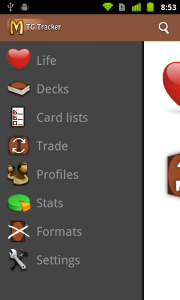
The app started with a single screen with a life counter for 2 players. Nothing really flashy. New features were added as tabs, Mana Pool, then Stats, then Decks. Tabs were cool on the early days of mobile apps.

1st_versionThen the ActionBar was presented, and with that, MTG Tracker moved to ActionBar + Dashboard. That is the other time the app had a considerable redesign.
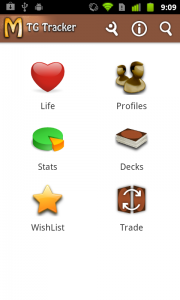
dashboard_4.2

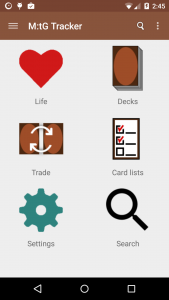
Moving forward, and adding features, at some point the app had so many features that a Dashboard was not enough. Also, a new pattern was emerging: Menu Drawers. So, we added one, not a big change, but still important.

02_dashboard_with_options

MTG Tracker with Material Design

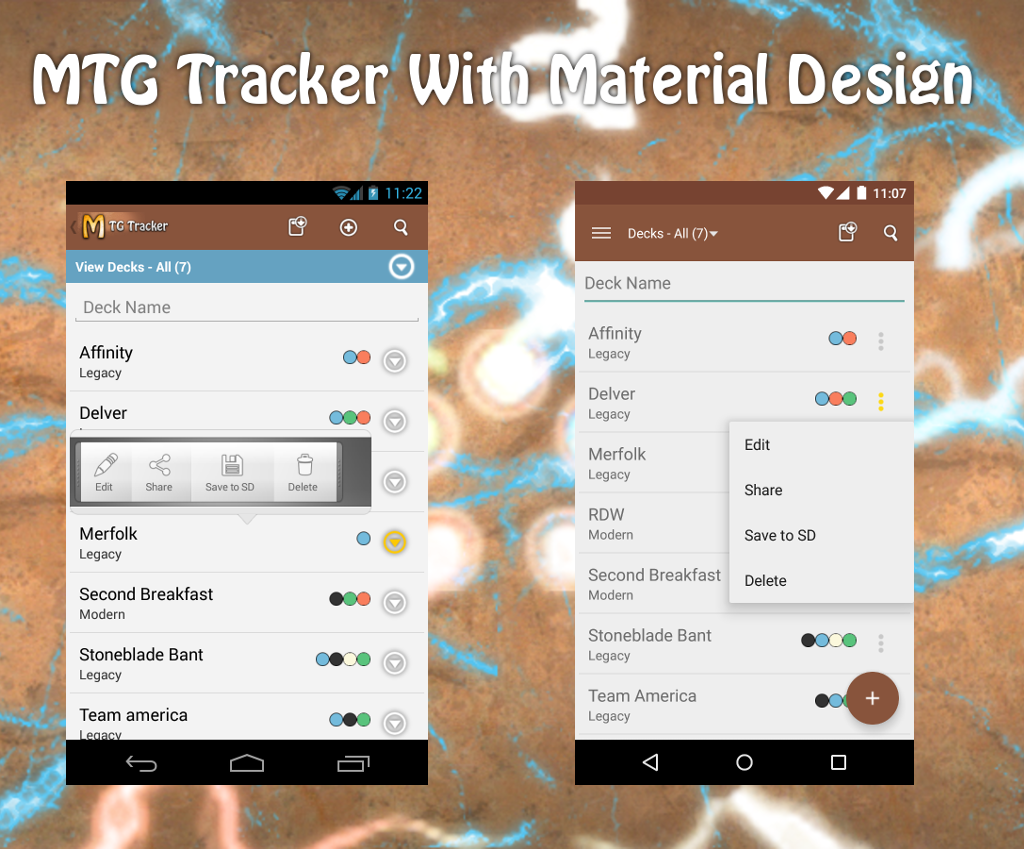
And with this, we get to Material Design, the big push from Google with Lollipop. We are adopting quite some new patterns. An image is worth a thousand words.

material design_small

Toolbar replaces ActionBar

The new toolbar has a more obvious drawer icon and the icon is removed from the bar, leaving some space for options and titles. It also has a very nice animation when opening the menu drawer.

There used to be a blue bar under the action bar for extra options on some screens. This is now part of the toolbar, giving am ore consistent look and feel.

Bonus points: Decks also have a Quick Return Header pattern, which hides part of the header when you scroll down and shows it again when you scroll up.

Floating Action Button

In most of the screens, there is a floating action button for the most prominent action (like add a new deck or add cards to a deck or a list).

Popup Menu replaces Quick Action Menu

The extra options for elements on a list were displayed with a quick action menu, which was cool when we started using it, but now everyone is moving to the popup menu with 3 dots, which is also more clean, so that has changed as well.

New simpler, cleaner icons

We also changed the icons of the home screen and the drawer to simpler, more clear versions of them.

Search is now an option on the menu drawer as well as in the main screen. It is much more accessible there than from the icon on the action bar.

device-2015-01-12-144523

Deck Edit is no more

Deck edit has disappeared. It was confusing and was not adding much value. The decks can be edited now at any time. As it was for Card Lists and Trades.

Something else?

I want to change some other parts of the user flow, but that will have to wait another update. No spoilers on that one.

But of course, there is a bit more:

  • Added cards from Fate Reforged
  • EDH banned list has been updated.
  • Fixed a problem when adding the card “_______” to a deck or list.

MOGA controllers and Android TV

I just released SpaceCat HD for Android TV. What it should have been a very simple and straight forward process turned out to give me quite a headache.

If you have a game that is gamepad-ready. Chances are that you are supporting MOGA controllers, simply because they are one of the best. If that’s the case you may also have this problem.

The not-so-obvious problem

If you want to publish for Android TV, you essentially have to do a few things in your manifest (see the full article on developer.android.com):

  • Declare a TV Activity using an intent filter of the category CATEGORY_LEANBACK_LAUNCHER.
  • Add a banner to the application (android:banner=”@drawable/banner”).
  • Declare it as a game (android:isGame=”true”).
  • Specify that it knows how to handle controllers.
  • Specify that touchscreen is not required.

All these are very straight forward, but some of them require you to compile with targetSDK=21 (a.k.a. Lollipop) because is when they were introduced.

Another interesting change on Lollipop is the requirement of all service intents to be explicit. Any non-explicit one will throw an exception on runtime. This requirement is triggered when you compile with targetSDK=21.

And, obviously, the MOGA library does use a service with a non-explicit intent.

The invalid approaches

The first approach is to compile with a lower targetSDK, but then you can’t be on Android TV since the required manifest options aren’t available.

The second approach is to remove MOGA support, but then, the people that has those controllers will stop to have it supported.

The third option is to have multiple apks, one for Android TV with targetSDK=21 and another one for everyone else with a lower targetSDK. This sounds reasonable, but there is no clear way to separate Android TV from the rest and -as I was told by a Google Dev advocate- this was done in purpose.

But hold on, there is one more option, and it is the most obvious one, once you think about it.

The obvious solution

You just need to modify the code of the MOGA library to make it be an explicit intent. Except that the library is not open source.

It was pointed out to me by Robert Broglia, developer of Snes9x-EX+, that you could just use a decompiled version of the library, and then modify the init method. As you can see on his github project.

I’m really not a fan of having full libraries inside the source code, so I tried to just extend the controller to replace the init method for one using the explicit intent, that would have been a few lines of code, but the class is final.

At the end I created a new Controller that uses the explicit intent (and basically everything else is the same) and placed it under the package com.bda.controller.

It could have been easier

All this could have been much easier if

  • MOGA had updated the library
  • The Controller class wasn’t final

If you have a game that is MOGA-enabled and you want to port it to Android TV, I hope to have saved you some headaches.

Kendama SpinOff 1.0 Released

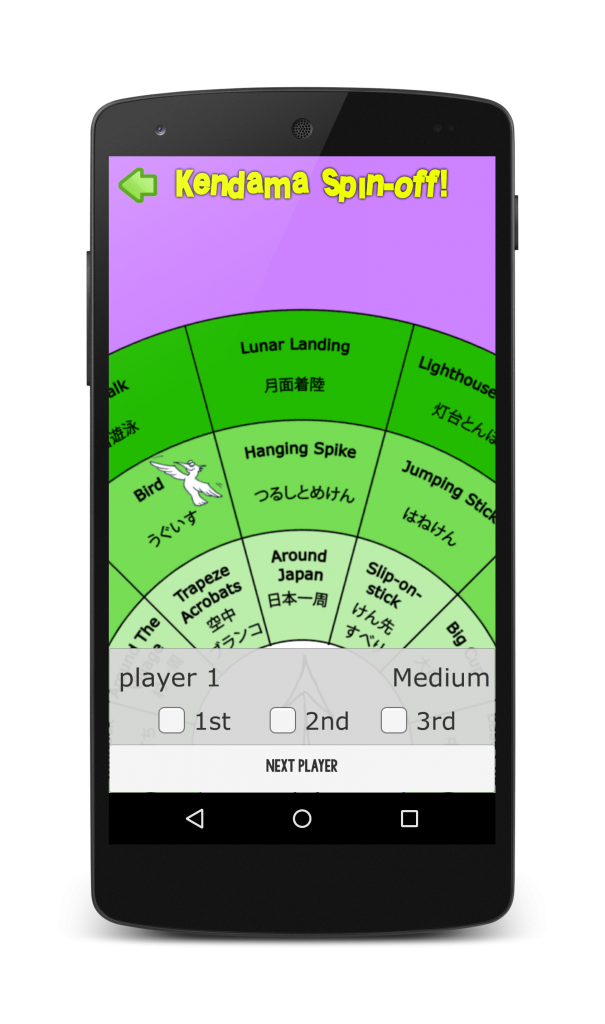
A while ago, the British Kendama Association released SpinOff, a physical game for kendama that includes several wheels with tricks and even 3 play modes.

Now, that game has made it to Android Phones (and to iOS soon), making it the second kendama related app of Platty Soft.

Screenshot_2014-12-15-16-29-15_framed


So, if you are a Kendama player and are quite bored of same old games, give SpinOff a chance!

Note: You need a real kendama to play this.

Kendama SpinOff on Google Play

Leonids Lib 1.2 – Meteor Shower

I just released an update of Leonids Lib. It includes feedback from previous versions both from github and the workshop I gave at GDGFestDublin.

Changes

From this version on, speed and acceleration are using dips. This makes a lot of sense, since the library should work together with the standard concepts of the Android framework. Animations should me much more consistent among different pixel density screens now.

Previous versions were using pixels, so you may want to review your parameters when you update.

New Features

There are some new configuration options:

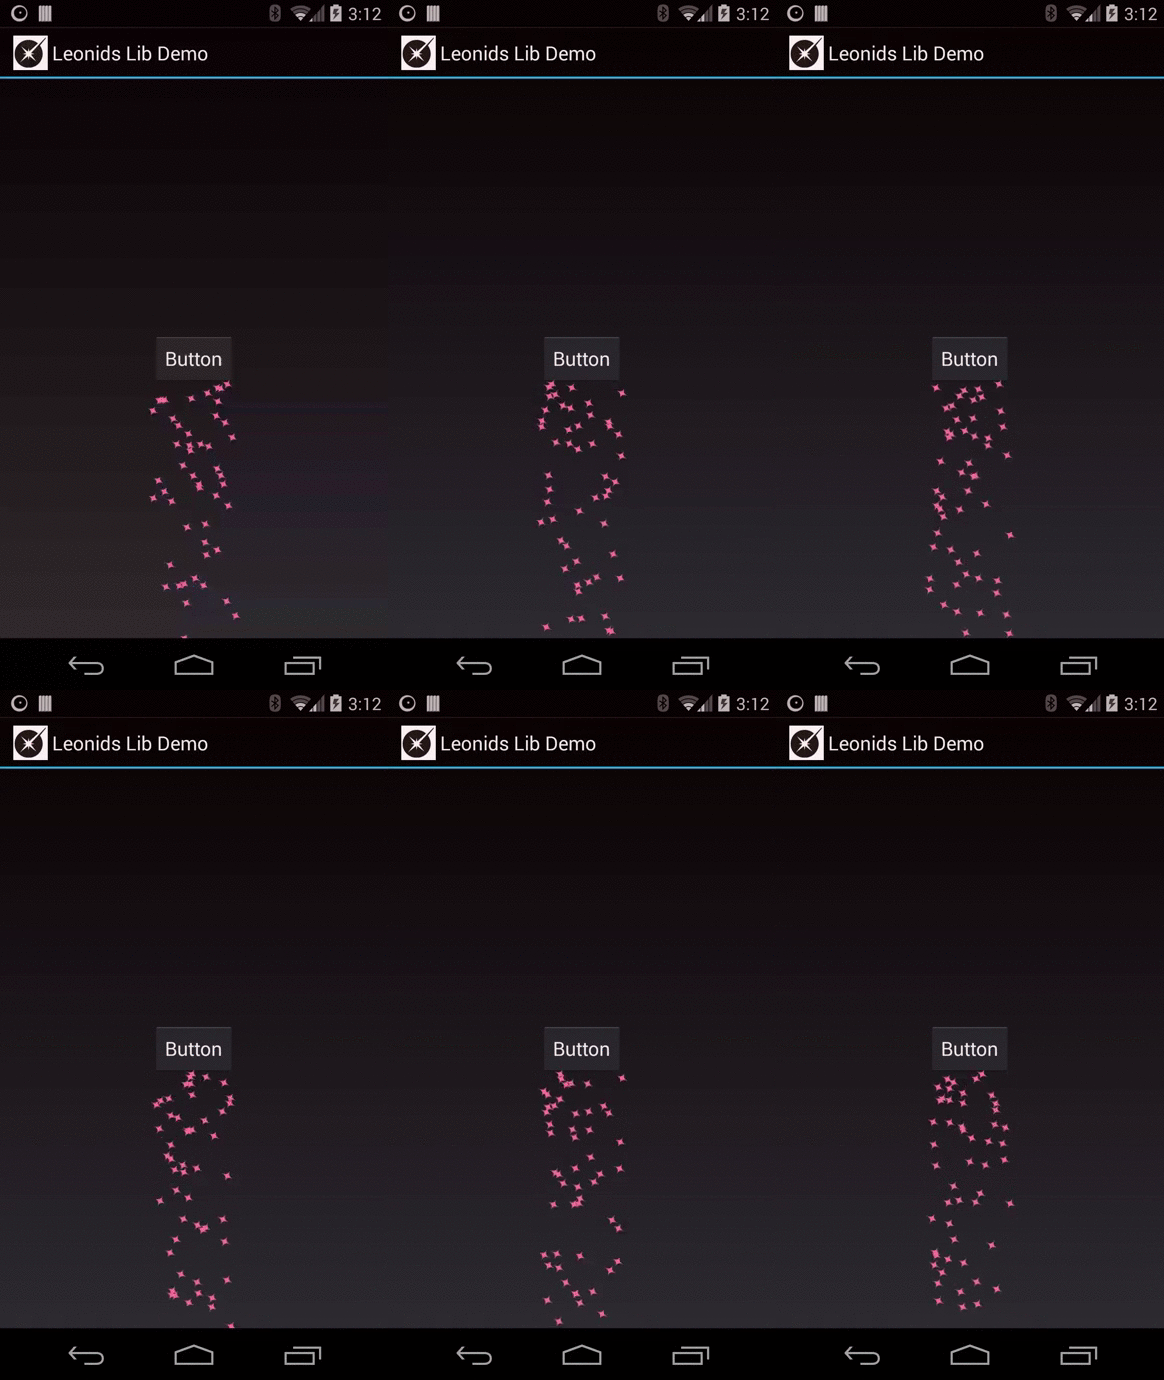
  • emitWithGravity: Allows you to emit from a specific side of the View and particles will be emitted along all the edge of the View. i.e. Gravity.BOTTOM will create a rain-like effect. Default is Gravity.CENTER.
  • updateEmitPoint: Allows to dynamically change the point of emission for the particle system (useful to follow the touch along the screen)
  • stopEmitting: Will stop creating new particles, but the existing ones will keep animating (this is different from cancel, which also stops the already spanned ones)
  • emit now has methods to emit from a specific point on the screen given x and y instead of from a View.

New Examples

Also, new examples are being included to showcase the new features:

  • Emit with Gravity: Simulates a rain-like effect using Gravity.BOTTOM.
  • Follow touch: Creates a trail of stars following the touch on the screen.

libdemo_rain

You can also check Leonids Lib github page and/or get Leonids Demo from google play.

KendamApp 2.0

There is a new version of KendamApp – The Kendama App out there. It includes 32 new videos and my favourite feature so far: Self Certification.

MTG Tracker on Google Play

Self Certification

Until now you could track your accuracy per trick, and then see how close you were to pass an exam, but an actual exam… that is another story.

This new feature allows you to try for a self certification. It tracks all the attempts of all the tricks and it tells you if you passed or not the grading.

As in a real exam, you don’t have to keep going with a trick after you’ve completed the required hits, and as in a real exam, you stop as soon as you miss one trick.

It also keeps track of your attempts to the grading. Note that the tricks performed during the self certification are not added to the trick tracking feature, it is a different feature.

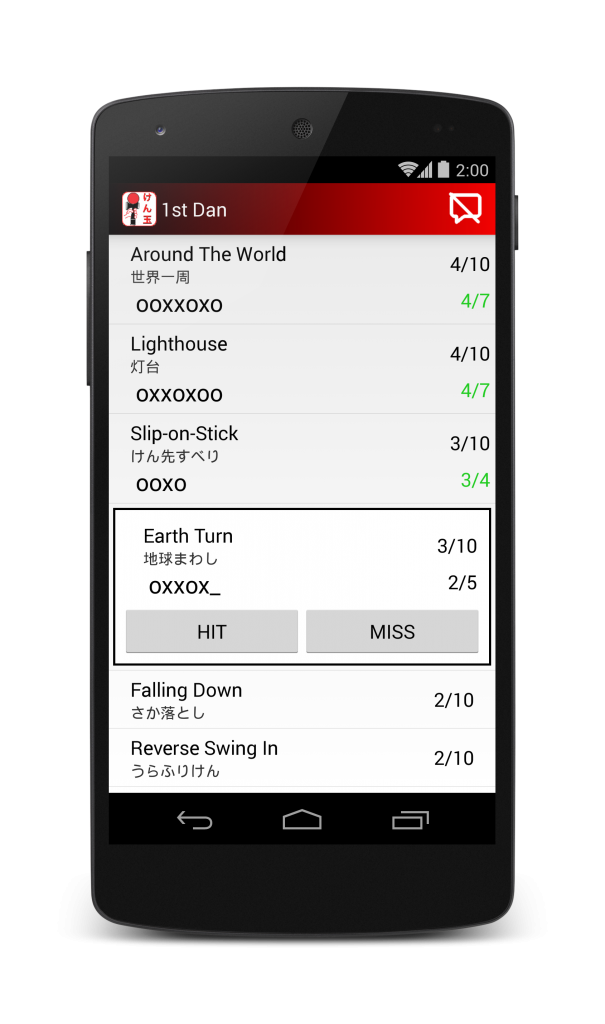
An image is worth a thousand words, so here’s a screenshot of the self certification in action.

KendamApp Self Certification

Happy clicking!

Accessing expansion patch files bug (and solution)

You may have used expansion files on Android. They are very handy when your app goes over 50Mb which, for games, happens pretty soon. In my case I have KendamApp – The Kendama App which has an extensive library of videos included.

The expansion files are organized on a main and a patch files. Each of them can be up to 2Gb. Since uploading them can be a pain, you can reuse them from one version to the next.

There are 2 libraries provided with android SDK to help managing expansion files:

  • downloader_library: Which purpose should be obvious.
  • zip_file: Which is a nice utility to manage expansion files via a content provider. You should be using it if you are using videos.

Also, if you are going to use videos, do not compress them when zipping the obb file.

Updating only with a patch file

Essentially, if you are going to add a few assets, it is better to use a patch file and reuse the main file. It will save lots of bandwidth and time.

You don’t have to re-upload the main file and users do not need to re-download it. Everyone wins.

Except that it may not be too straight forward when using the zip_file library.

The first pitfall (a.k.a. the undocumented feature)

First thing first, you should know that if you do not add some meta-data to the AndroidManifest, the library is going to look for the versions that match with the version number of the app. I don’t recall reading this in the documentation. I actually figured it out by reading the code.

So, the content provider on your AndroidManifest should look like this:

<provider android:authorities="com.plattysoft.zipprovider" android:name="com.plattysoft.provider.ZipFileContentProvider" >
   <meta-data android:name="mainVersion" android:value="17"/>
   <meta-data android:name="patchVersion" android:value="18"/>
</provider>

The second pitfall (a.k.a. the terrible bug)

Then, I realized that every time I tried to watch one of the new videos the app was crashing. I checked for the main and patch files and they were properly downloaded and inside the obb directory.

Something weird was going on.

Digging with the debugger, I ended up in a function that is supposed to return an string array with the name of the available expansion files based on the version numbers and after checking that the files do exist.

static String[] getAPKExpansionFiles(Context ctx, int mainVersion, int patchVersion) {
   String packageName = ctx.getPackageName();
   Vector<String> ret = new Vector<String>();
      if (Environment.getExternalStorageState().equals(Environment.MEDIA_MOUNTED)) {
         // Build the full path to the app's expansion files
         File root = Environment.getExternalStorageDirectory();
         File expPath = new File(root.toString() + EXP_PATH + packageName);

         // Check that expansion file path exists
         if (expPath.exists()) {
            if ( mainVersion > 0 ) {
               String strMainPath = expPath + File.separator + "main." + mainVersion + "." + packageName + ".obb";
               File main = new File(strMainPath);
               if ( main.isFile() ) {
                  ret.add(strMainPath);
               }
            }
            if ( patchVersion > 0 ) {
               String strPatchPath = expPath + File.separator + "patch." + mainVersion + "." + packageName + ".obb";
               File main = new File(strPatchPath);
               if ( main.isFile() ) {
                  ret.add(strPatchPath);
               }
            }
         }
      }
      String[] retArray = new String[ret.size()];
      ret.toArray(retArray);
      return retArray;
}

Except that it was returning a single string and not two. So, paying extra attention I noticed this specific piece of code.

if ( patchVersion > 0 ) {
   String strPatchPath = expPath + File.separator + "patch." + mainVersion + "." + packageName + ".obb";
   File main = new File(strPatchPath);
   if ( main.isFile() ) {
      ret.add(strPatchPath);
   }
}

Of course it couldn’t find the patch expansion file, it is constructing the name using the mainVersion number instead of the patchVersion. Event the File variable is called main!

Copy and paste is an anti-pattern.

I have checked the latest version of this library that comes with the android SDK and the bug is still there. I’d check where the code is and send a push request. In the meantime, you know what you have to change to fix it.

Safe scenarios

You would not encounter this bug if:

  • You are not using the zip_file library.
  • You are not using a patch file.
  • Your main and patch files have the same version number (you update both).